


It may not be standard yoga terminology, but maybe it should be.
(Photo: Rushlan Dashinsky | Getty)
Updated August 21, 2025 10:58AM
Ten bucks says that if you’ve taken a yoga class lately—or ever—you’ve practiced the category of hip stretches known as hip openers. That’s yoga shorthand for poses that include a combination of moving the thighs away from each other and turning them outward, such as in Goddess Pose, Bound Angle Pose, and Wide-Legged Forward Bend.
Despite the enduring enthusiasm that yoga teachers and students have for the release that hip openers can offer tight muscles, the opposite actions are so far from our radar that most of us don’t even know what to call them. But it turns out that there are serious benefits to balancing all of that hip opening with, you guessed it, hip closers.
Whereas hip opening can yield a satisfying muscle release and help increase flexibility, hip closing promotes greater stability and balance.
What Are Hip Closers?
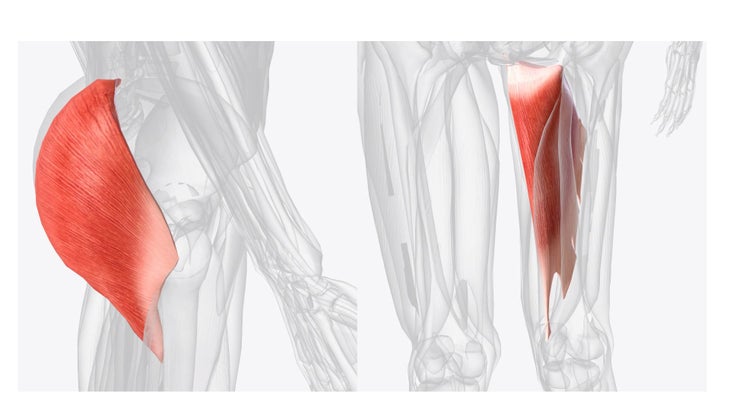
The hip stretches known as hip openers involve contracting the hip abductors and external rotators, including the gluteus maximus, medius, and minimus. The hip adductors (the inner thigh muscles) then lengthen and stretch. In hip closers, on the other hand, the adductors shorten and the muscles of the outer thighs and side hips stretch.
Hip openers may tend to be more popular in yoga classes simply because they can make us feel like we’re “getting somewhere,” says Jenni Rawlings, a yoga educator whose focus is anatomy and movement science. In other words, they’re bigger movements.
Although hip closers can appear to be more subtle positions, their effect is just as beneficial to the body as hip openers. “Movement variety is generally a good thing, including more ways of moving our hips,” says Rawlings. “Especially in directions we don’t often emphasize in yoga. It can add variety to our movement practice and help us build body awareness in underexplored positions.”
9 Hip Closers (to Balance All Those Hip Openers)
Practice these hip-closing poses as a sequence or choose a few to start with, particularly after a hip-opening routine.
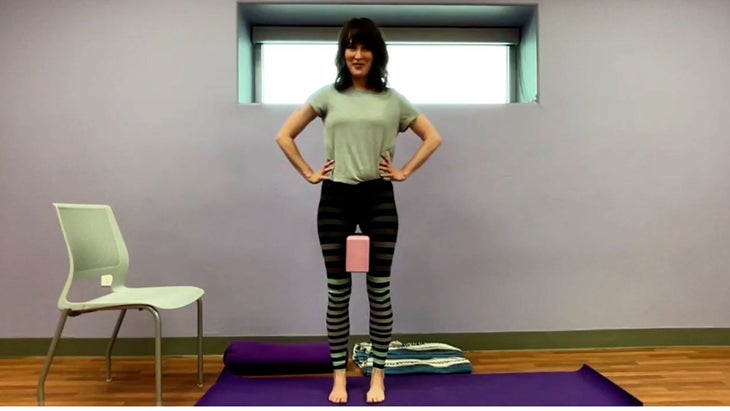
1. Mountain Pose With Block Between Thighs
Stand tall. Place a block between your thighs, a couple inches above your knees. Step your feet close enough together to hold it in place. As you inhale, press your feet into the mat. As you exhale, squeeze the block with your thighs and draw your navel toward your spine. Stay in this Mountain Pose variation or lift your heels off the mat and lower them as you inhale. Exhale as you return your heels to the mat. Repeat for a few breaths.
2. Eagle Pose
From standing, press your right foot into the mat. Bend both legs as if you were about to sit in a chair, and cross your left thigh over your right thigh. Wrap your left foot around and behind your outer right ankle or rest your left toes on the mat alongside your right ankle to help with balance in Eagle Pose. Stay here or, to fire up the adductors, Rawlings suggests actively squeeze your legs together. Pause for a few breaths, then return to standing. Repeat on the opposite side.
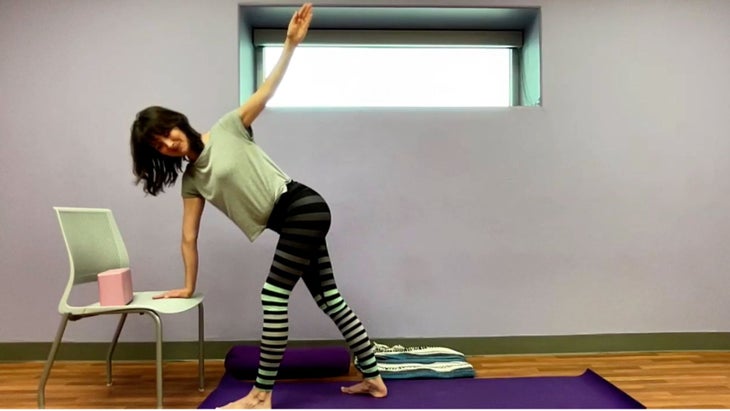
3. Revolved Triangle Pose
Stand with a chair or block in front of you. Press your left foot into the mat, step your right foot back, and turn your right toes out slightly. Place your left hand on your right hip and reach your right arm toward the ceiling. As you inhale, reach the crown of your head toward the ceiling. As you exhale, hinge forward from your hips and lower your right hand to the prop. Keep your knees slightly bent. Twist from your torso toward the left side and reach your left arm toward the ceiling in Revolved Triangle Pose.
Allow your pelvis to rotate with the twist, Rawlings suggests. She also notes that if you feel any discomfort in your back leg or knee, lift your back heel a few inches off the mat.
Pause for a few breaths, then bring your hands to your hips and rise to standing. Repeat on the opposite side.
4. Curtsy Lunge
Stand with your hands on your hips. Shift your weight onto your right foot. Step your left foot behind and to the outside of your right foot and bend your knees as if you were curtsying. If it’s difficult to balance, place one or both hands on the back of a chair or a wall. Squeeze your thighs together. Repeat the Curtsy Lunge a few times on one side, then repeat on the opposite side.
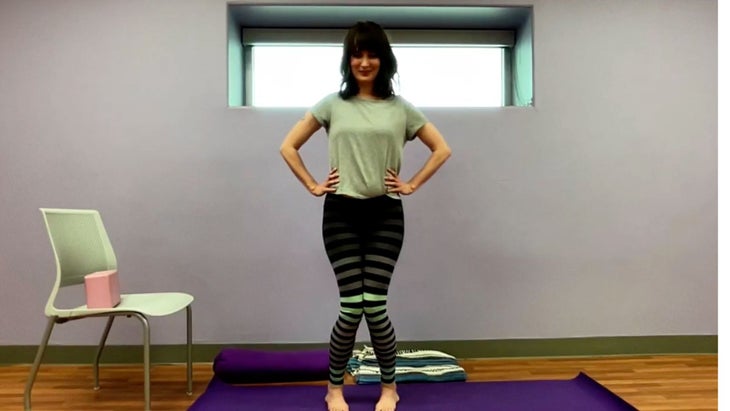
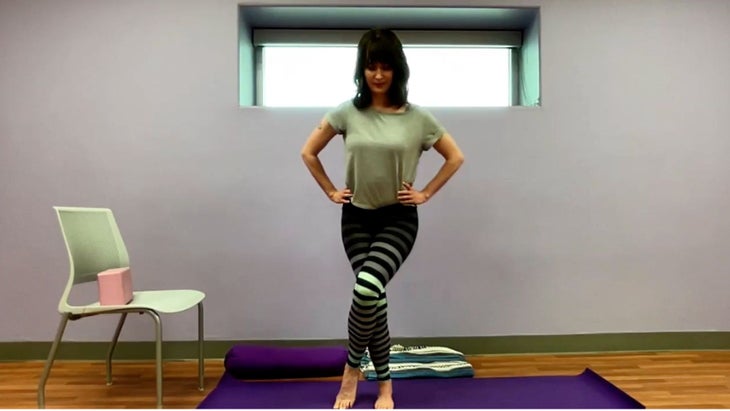
5. Standing Hero Pose
Stand with your feet hip-distance apart or slightly wider and place your hands on your hips. Turn your toes in slightly and bend your knees as much as feels good—your inner knees may touch each other but don’t force them. Reach the crown of your head toward the ceiling. Pause here for a few breaths.
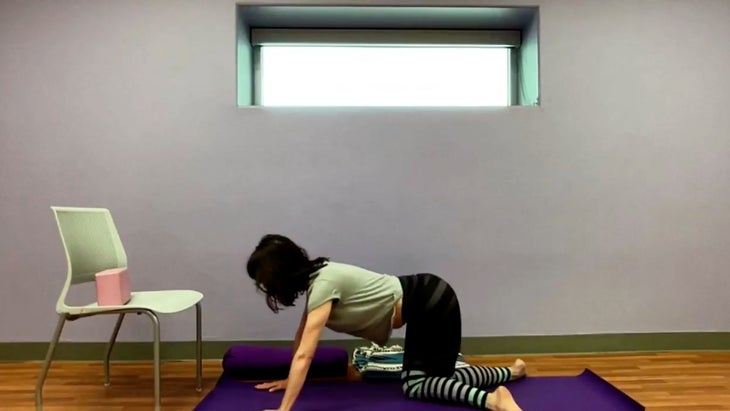
6. Cow Face Pose Variation
Come into Downward-Facing Dog. Step your left foot behind and slightly to the right of your right foot, then lower both knees to the mat, placing a blanket underneath them if it’s more comfortable. Move your feet toward the edges of the mat. Sink your hips in between your heels as far as feels good. You can sit on a block. Pause for several breaths in this Cow Face Pose variation before coming to all fours. Then return to Downward-Facing Dog and repeat on the opposite side.
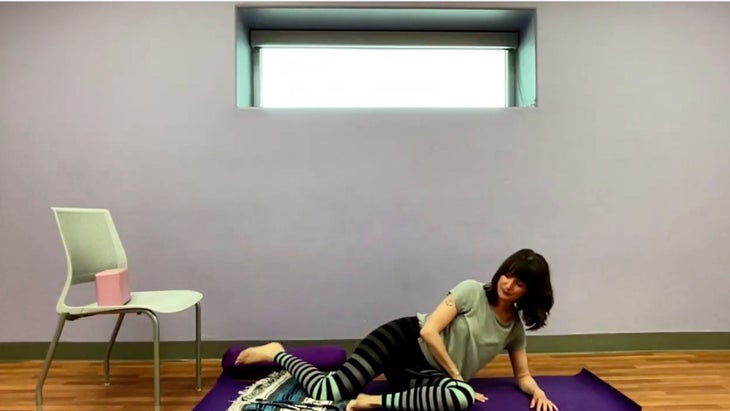
7. “Z” Sit
Sit with your knees bent and your feet planted on the mat in front of you. Slowly windshield wiper your knees side to side. Come to stillness with your knees bent toward the left, lowering both knees toward the mat as much as is comfortable. Draw your feet toward your body so your legs roughly form a “Z” shape. Stay here or lower onto your left forearm with your elbow underneath your shoulder (as if your upper body is getting ready for forearm Side Plank) and try to lift your right foot off the mat. Rawlings explains that lifting the back foot helps increase internal rotation in the back hip. Pause for a few breaths, then repeat on the opposite side.
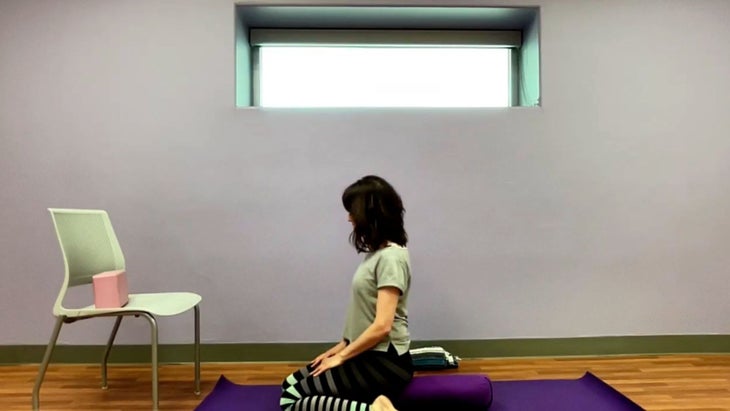
8. Hero Pose
Kneel with your knees together and your feet slightly wider than your hips. Sit back, lowering your hips in between your heels. Place a block or bolster underneath your sitting bones if it’s more comfortable. Draw the crown of your head toward the ceiling as you sit tall Hero Pose. Pause here for a few breaths.
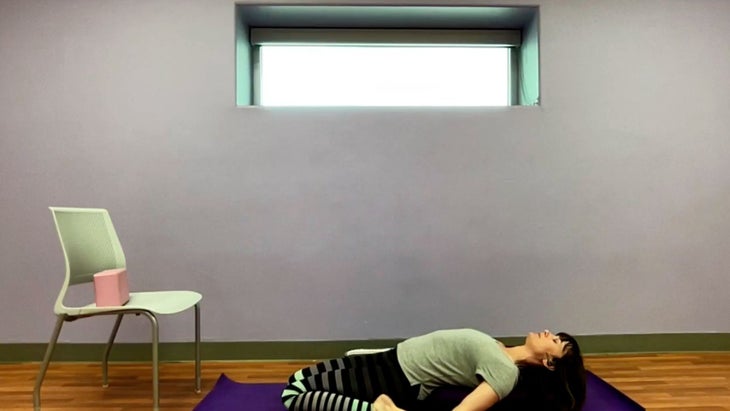
9. Reclining Hero Pose
From Hero Pose, lean backward as much as is comfortable for you, perhaps lowering yourself onto your forearms or coming all the way onto your back in a reclined position. Continue to press your knees into the mat and try to resist them lifting. Pause here for several breaths.