


Although nothing can “fix” this, these strengthening exercises can help you correct your posture.
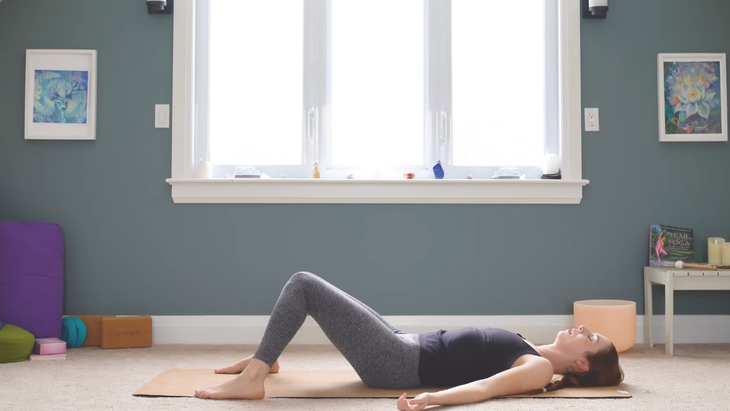
(Photo: Yoga With Kassandra)
Updated September 22, 2025 08:20AM
I’ve struggled with anterior pelvic tilt, or what’s sometimes referred to as swayback, my entire life. That means when I’m not consciously correcting my body, I stand with a forward tilt in my pelvis. My bum juts backward, there’s a big curve in my lower back, and my stomach sticks forward. This is how my body wants to align. The problem is when you search for resources, you’ll find that many anterior pelvic tilt exercises are promoted as “how to fix anterior pelvic tilt.” And although my forward tilt has improved a lot and I know all the things that can help, I can’t change my anatomy.
These anterior pelvic tilt exercises can certainly help alleviate some of the discomfort or pain. But nothing is going to magically “fix” your anterior pelvic tilt. It’s always going to be there.
You can, however, build awareness as you go through your yoga practice and your life and help correct your posture. That’s what will help you the most and what has made the biggest difference for me.
How to “Correct” Anterior Pelvic Tilt
Many who experience pronounced anterior pelvic tilt don’t feel discomfort while others of us struggle with lower back pain. My exaggerated anterior pelvic tilt got really bad when I was a teen, which was before I started learning and understanding what I needed to do to adjust my posture.
As you observe yourself and practice ways to counteract your anterior pelvic tilt, you learn to become more aware of the way your body engages and aligns. With time, whether you’re on the mat or in your car or at the grocery store, you’ll be able to move in a way that will help your posture and prevent discomfort.
From what I’ve learned through physical therapy and yoga, the key thing you can do to help correct anterior pelvic tilt is strengthening the abdominals and the glutes and, on the flip side of the body, stretching the lower back and hip flexors. You can practice this during your yoga practice by lengthening your tailbone toward your heels, drawing your lower belly toward your lower back, and building an awareness of these and other actions that help tip your pelvis back to neutral when it wants to tilt forward.
I’ve cultivated the awareness and physical strength to bring my body back into proper posture and alignment. And that’s what you’ll take away from these exercises.
21 Anterior Pelvic Tilt Exercises
These anterior pelvic tilt exercises are specifically designed to help you understand how to counter your forward pelvic tilt. They focus on strengthening your abdominals and glutes as well as stretching your hip flexors and lower back, all while helping you build an understanding of your body’s tendencies and how to correct them. You can practice them as a sequence or incorporate a few of them into your yoga practice or workout routine. The idea is that these
1. Reclined Leg Lifts
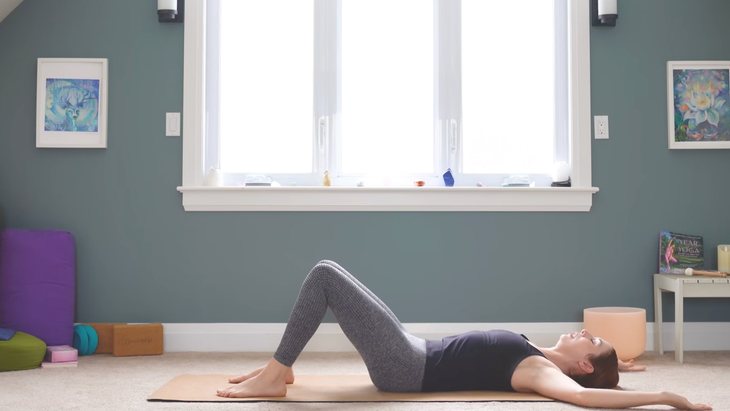
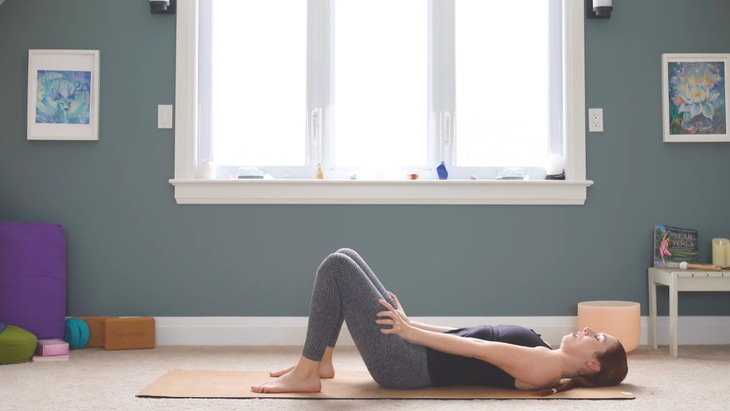
We’re going to start lying down on our backs. This is really where the important work begins. You want to be able to have the entire length of your spine in contact with the floor. So if you were to bring your arms overhead and relax, if you have swayback, you’ll notice that your lower back naturally wants to lift up and off the ground. Push your lower back down into the mat. Notice how this makes you tuck your hips a little so you can find a more neutral alignment of your pelvis..
Make a cactus shape here with your arms, push into your shoulders and just take a few breaths, keep your feet flat to the floor. Hip width distance apart is fine, and I want you to inhale through your nose and send that breath all the way into your belly. And as you exhale, press your belly button down towards the mat and keep that connection of your lower back with the mat. This is step one. This is how you begin to build awareness of your posture.
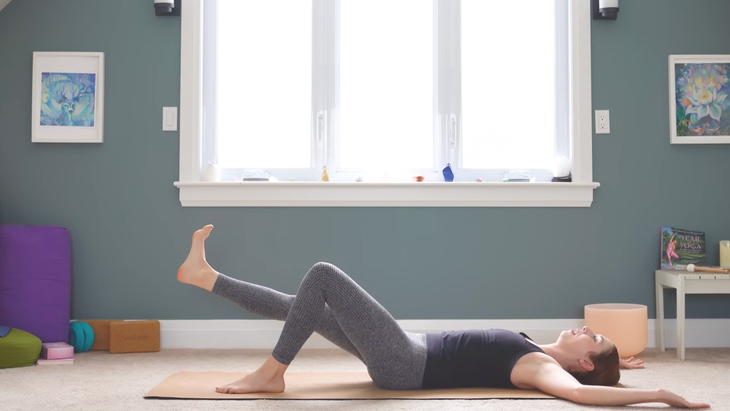
Then straighten your right leg without changing anything else. Notice if your lower back lifted off the mat and press it back down. Flex your right foot, push through your right heel, and press down through your lower back. Lift your right foot and heel just a few inches off the mat and hover it. This engages your lower abdominals and strengthens your core. Keep taking slow, steady breaths.
Bend your right knee, bring your foot back to the mat, and switch sides. You might notice that one side feels a little harder to do than the other.
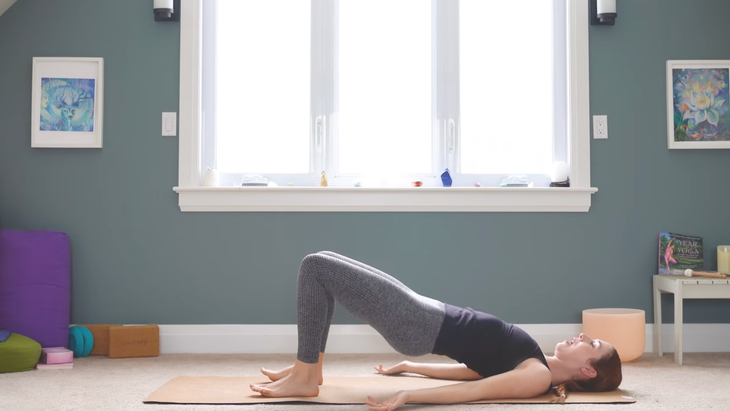
2. Bridge Pose
Bring both knees together again, feet flat on the mat, and rest your arms by your sides, palms facing up. Push your feet into the mat and squeeze through your glutes as you lift your hips into Bridge Pose (Setu Bandha Sarvangasana).
It’s super important here to think of lengthening your tailbone, stretching your lower back and pushing your heels into the mat. Try to drag your heels toward your shoulders, activating through your glutes and through your hamstrings. Try not to curl or tailbone up. Think of eliminating that pelvic tilt. You might not be able to lift your hips up as high when you keep the integrity of a neutral position through your hips and lower back, and that’s fine. If you find yourself tilting your pelvis forward, lower your hips slightly and focus on keeping your hips neutral.
Slowly lower yourself to the mat, inch by inch.
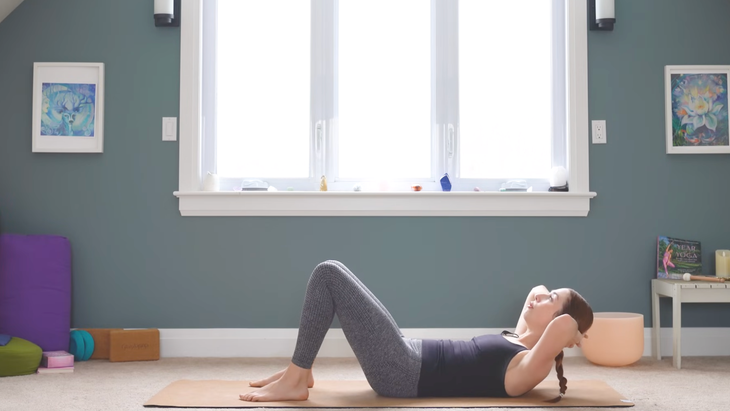
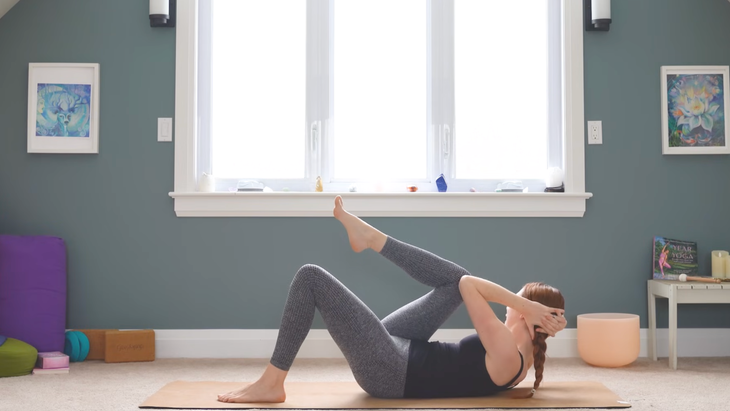
3. Tabletop Reverse Crunches
Bring your hands behind the back of your head and keep your lower back on the mat as you use your abdominal strength to lift your head and shoulders.
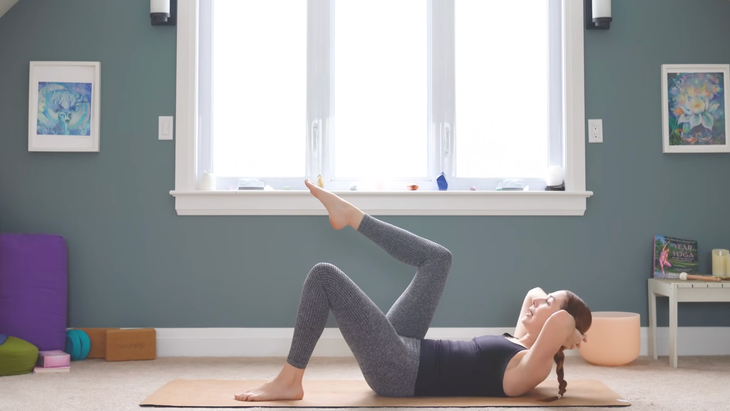
Stay lifted as you inhale and lift your right foot, keep your knee bent at a 90-degree angle, and exhale as you lower it back down with control.
Stay on the right side as you repeat. So inhale, right leg up, keep the knee bent. Exhale, back to the mat. Twice more. Inhale and lift a little higher. Exhale and set it down. Then switch sides and take it 3 times on the left. Stretch your legs out in front of you, curl Head and Shoulders up a little higher and release your upper body back to the mat.
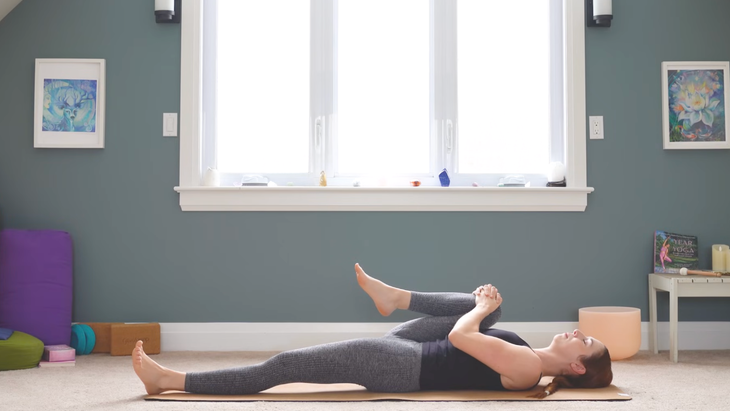
4. Hip Flexor Stretch
Stretch your arms overhead and forget about your low back for a second and simply pull your right thigh in toward your belly. Keep your left leg straight and really lengthen out as much as you can to feel a stretch along the front of your left thigh, which brings relief to your hip flexors.
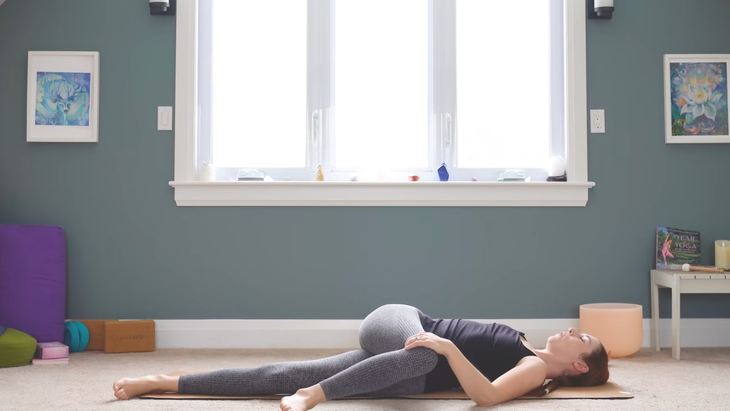
5. Reclined Twist
Take this stretch into a twist by crossing your right thigh over your body toward the left and reaching your right arm straight out to the right side. Try to stack your right hip on top of your left. Any kind of twist is really beneficial for stretching out your lower back, especially if your anterior pelvic tilt causes pain and discomfort. Some people have no negative symptoms with this type of posture, but it is still beneficial to stretch your lower back.
Release and repeat the Hip Flexor Stretch and Reclined Twist on your other side.
6. Crunch Twist
Bend your knees, place your feet flat on the mat, and bring your hands to the back of your head again. Lift and curl your head and shoulders, bring your right knee in as close as you can, and twist to the right. See if you can bring your left elbow in contact with your inner right knee and push your arm into your knee and feel your knee push into your elbow to activate your abdominals. It doesn’t take long to feel this one. Breathe here as you keep squeezing, squeezing, squeezing, pushing, pushing, pushing. Try to stay lifted and maybe lift a little higher before you release back down to the mat.
Repeat on your other side.
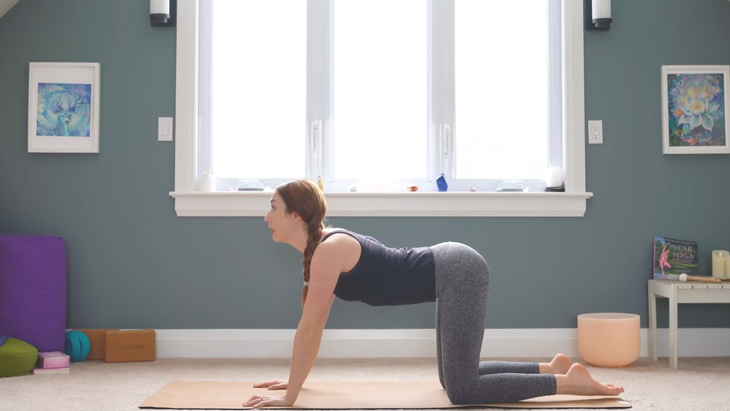
7. Cat and 8. Cow
Come to hands and knees so your palms are under your shoulders and your knees are underneath your hips. Practicing Cat and Cow can help you build awareness. So inhale as you lower your belly toward the mat and arch your back in Cow Pose. If you have anterior pelvic tilt, you’ll notice there’s a lot of motion in the lower back but probably not as much in the upper or mid back. You might need to lessen the degree of pelvic tilt here so you can instead create the backbend by squeezing your shoulder blades together and opening across the chest.
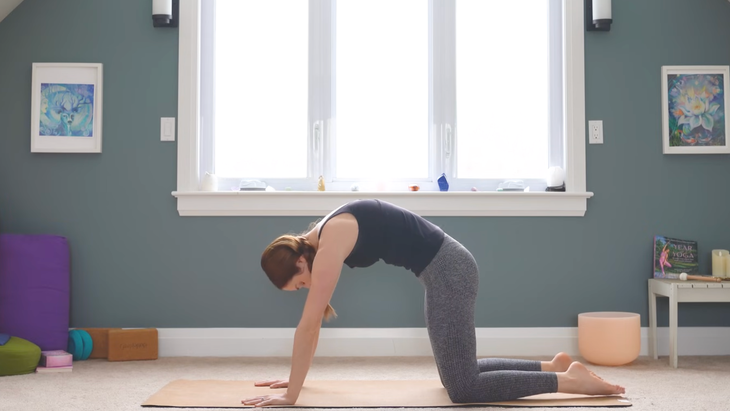
As you exhale, reverse that motion and really feel the action of scooping the tailbone under and stretching through your lower back in Cat Pose. Take a few more rounds like this.
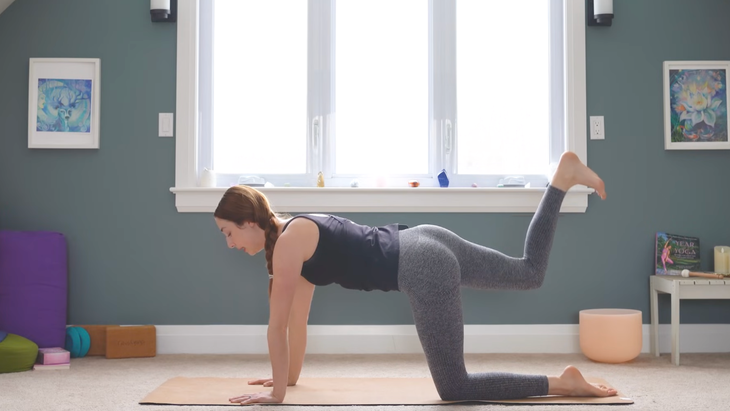
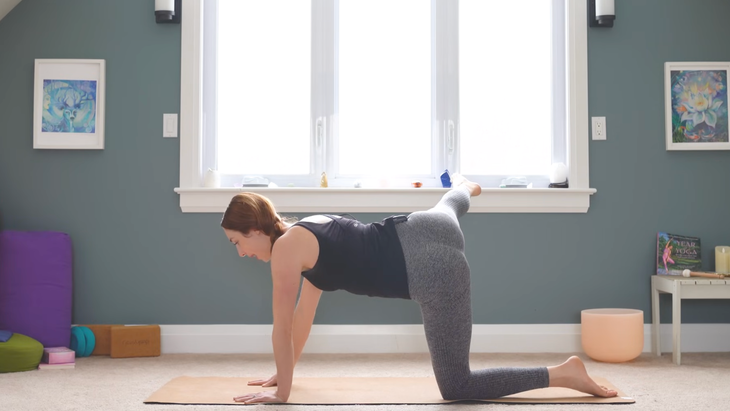
9. Donkey Kicks
If you have anterior pelvic tilt and you’re not aware of it, a neutral Tabletop position usually causes you to drop the belly. So to correct that, try to flatten your lower back as if you’re trying to balance a teacup on it. Bend your right knee and lift your right heel as if you’re trying to place your foot on the ceiling. Try to keep the integrity through your lower back as you pulse that heel up and down. They’re tiny pulses, just a couple inches, to activate and target through the glutes.
Then bring your right knee out to the side and lower your knee and shin to the mat. Keep both elbows straight and your low back neutral as you squeeze and lift and lower. Three more, inhale, up, exhale, down, inhale, up. You’ll feel this in your left glute. Down, last one, inhale, lift, exhale to release. Once more.
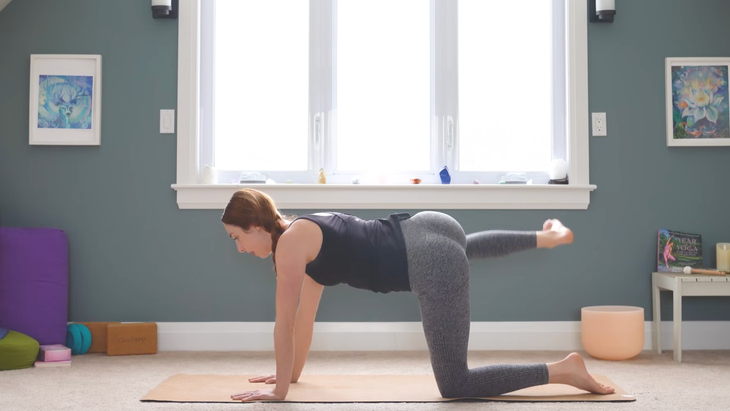
Now lift your right knee, straighten your right leg out to the side, and slowly tap your toes down to the floor. Then squeeze your glutes to lift your leg. Take 4 more. So tap down, squeeze, and lift.
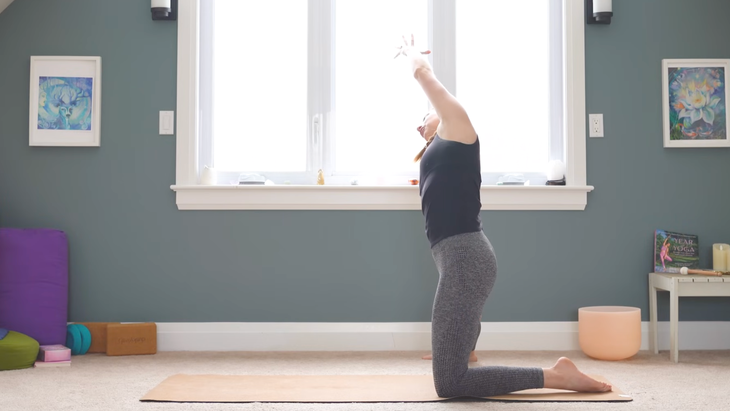
10. Gate Pose
Straighten your right leg out to the side and lower your right foot to the floor. Lift yourself upright and find your alignment here with your tailbone reaching down and your lower belly drawing in. Reach your left arm up and lean over to the right in a side body stretch known as Gate Pose.
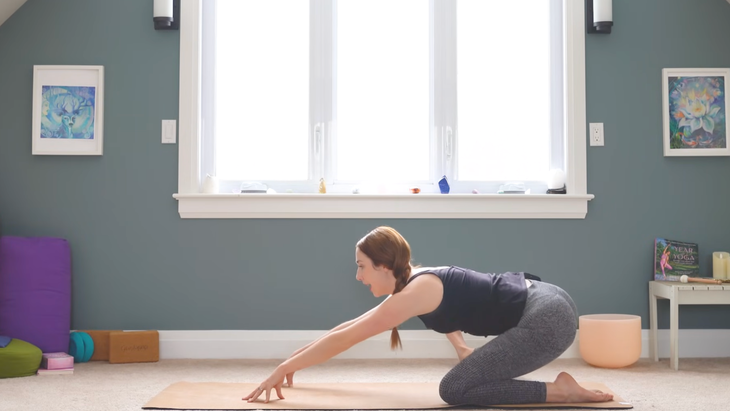
11. Child’s Pose Variation
Then keep sweeping your left arm forward and down until you can bring your hands back to the floor beneath your shoulders while keeping your right leg straight out to the side. Pivot on your right heel so you’re lifting your right toes off the mat and toward the ceiling. Then start to shift your hips back.
Maybe you rest your hips over your left heel as you fold forward almost as if you were in Child’s Pose. Feel the hamstring stretch here, which is a way to release tension in the lower back.
Come back to Tabletop and repeat this sequence on the second side, starting with Cat-Cow, then Tabletop, and the Gate Pose stretches.
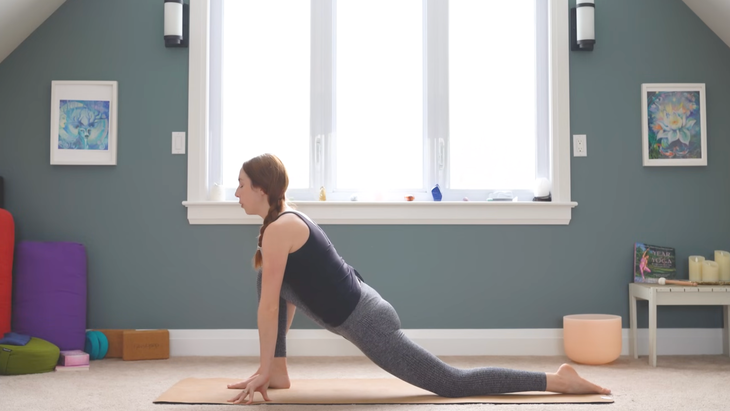
12. Low Lunge Twist
Come back to Tabletop and step your right foot forward between your hands in Low Lunge. Start with your fingertips on the mat to stretch through the front of your left thigh.
Then add a twist here by flattening your left hand to the mat, bringing your right hand to your right thigh, and try to push your thigh away from you as you roll your right shoulder back and twist to the right and look down to the floor. Let gravity pull your hips down toward the mat.
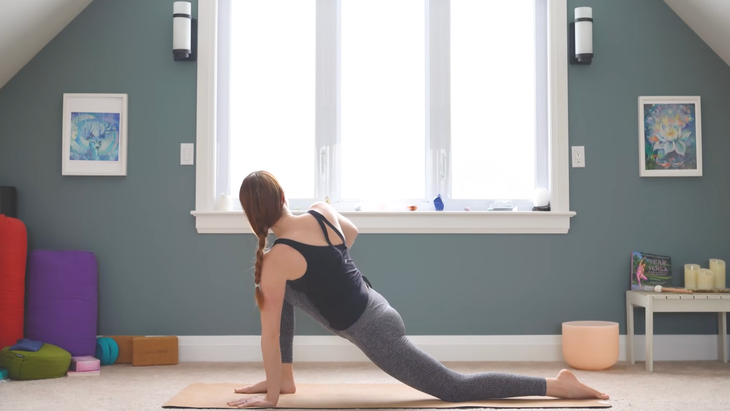
13. Low Lunge
If I had to pick one of the most effective anterior pelvic tilt exercises, it would be Low Lunge. Come back to your Low Lunge shape and reach your arms alongside your ears. When you have anterior pelvic tilt, the tendency is to sink forward and toward the mat. But you want to lift the rib cage, find length along the back, and lift out of your lower back as you reach through your arms. Even if you do start to press your hips forward and down to intensify the hip flexor stretch, you’re not letting all of your weight collapse into your lower back. Again, it’s about building awareness.
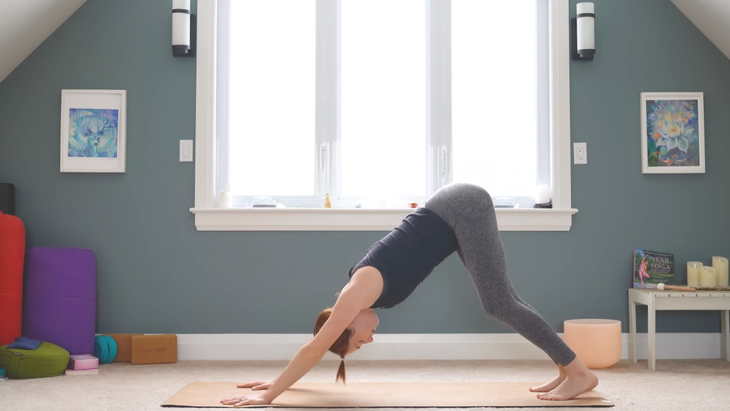
14. Downward-Facing Dog
Take another big breath in here and then plant your palms, tuck your back toes under, and step your right foot back so your feet are hip-distance apart to find your Downward-Facing Dog. Take any movements here and adjustments that feel good to stretch your lower back and hamstrings.
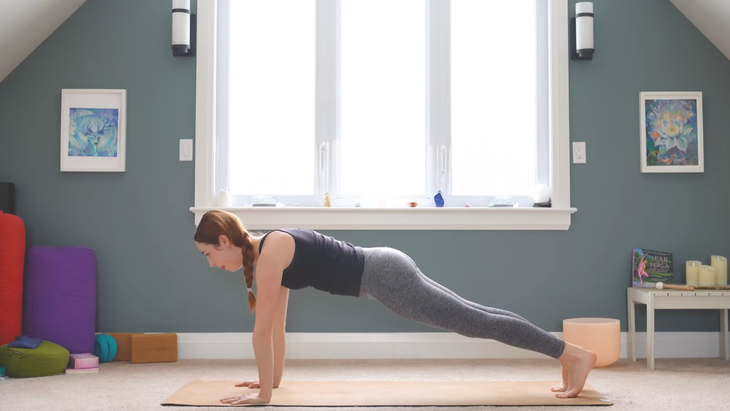
15. Plank Knee Taps
Shift your shoulders forward over your wrists in Plank Pose. Hold here and you’ll do the same thing as Tabletop, which is lengthen your tailbone toward your heels, draw your lower belly in, and reach the crown of your head forward. Tap your knees down to the mat and lift them up. Do that twice more.
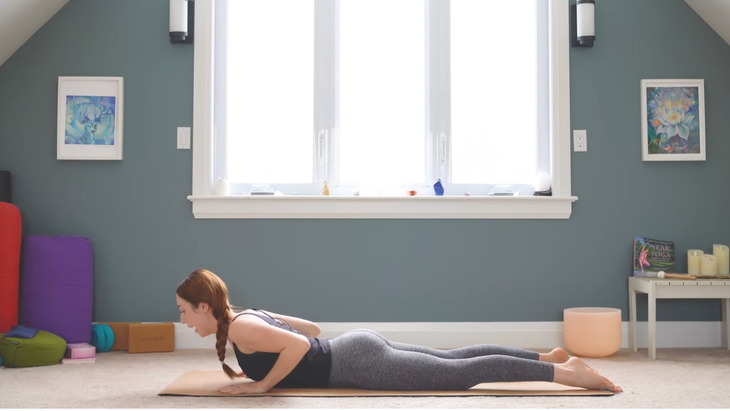
16. Cobra Pose
Slowly lower yourself to the mat. Before you come into Cobra, know that it’s super important to practice backbends properly. Just like Cow Pose, it’s easy to let your lower back take the brunt of this. Instead, push the tops of your feet and the pubic bone into the mat and lift your chest only as high as you can without letting the fronts of your hips come off the mat. You might not be lifting high at all. Think of focusing on your mid back and upper back more than anything else. Slowly release yourself to the mat.
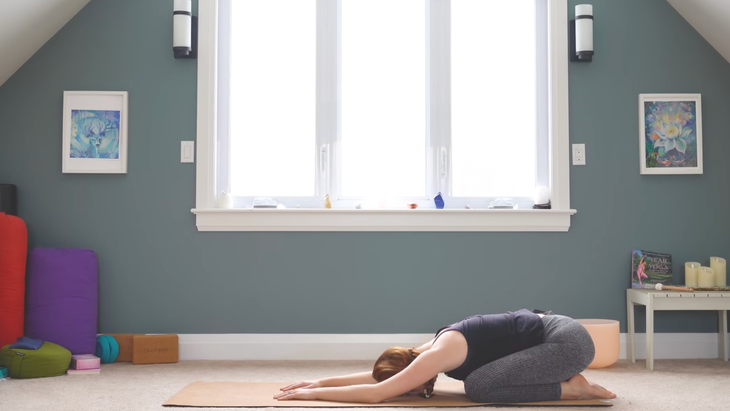
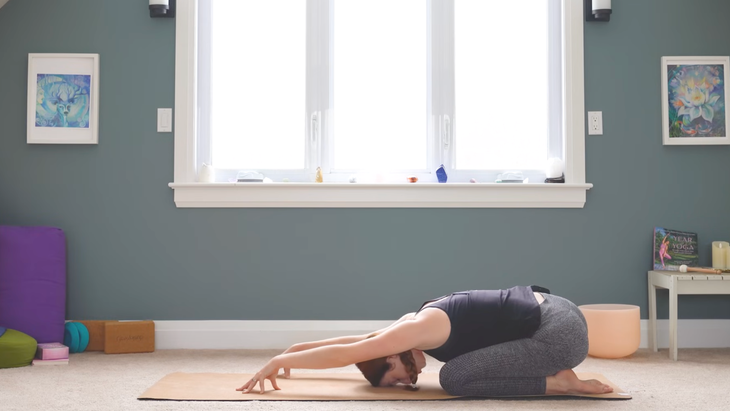
17. Child’s Pose
From Cobra Pose, press back and rest your hips on your heels and bring your forehead down to the mat in Child’s Pose. Keep your knees fairly close together and take 3 deep breaths here.
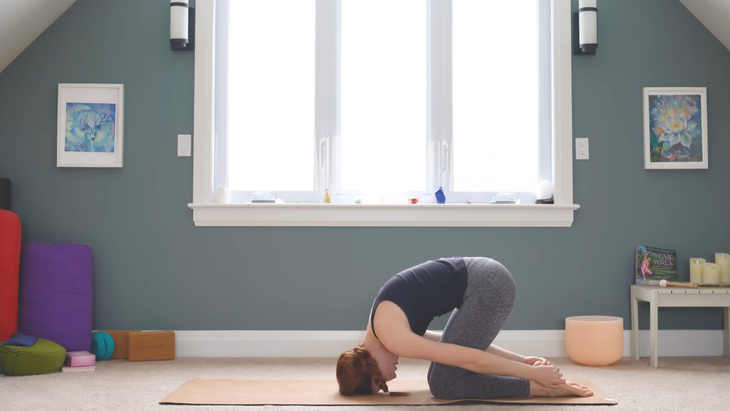
18. Rabbit Pose
From Child’s Pose, bring your hands behind you and grab hold of each heel to come into Rabbit Pose, which is an awesome stretch for the lower back. Lift your hips off your heels as high as they can go while still holding on to your heels. Gently roll onto the top of your head. but you’re not placing a lot of weight on your head. Keep most of your weight in your knees and shins so it’s almost like you’re hovering above the mat. You’re looking to feel a stretch and decompression along the spine.
Slowly release back into Child’s Pose. Then come into Tabletop and repeat the sequence on the other side, starting with the Low Lunge Twist, Downward Dog, Plank, Cobra, Child’s Pose, and Rabbit.
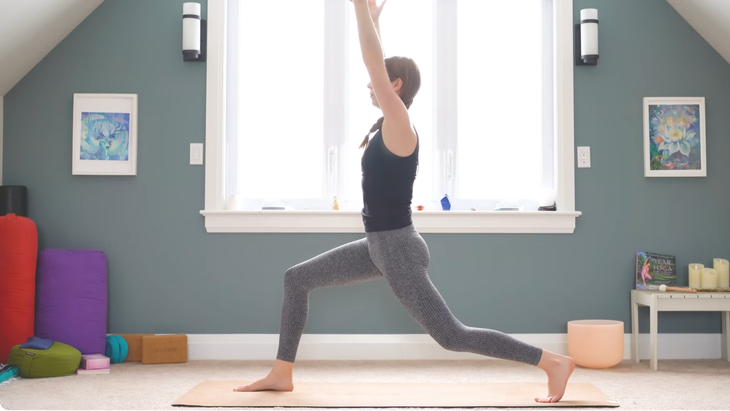
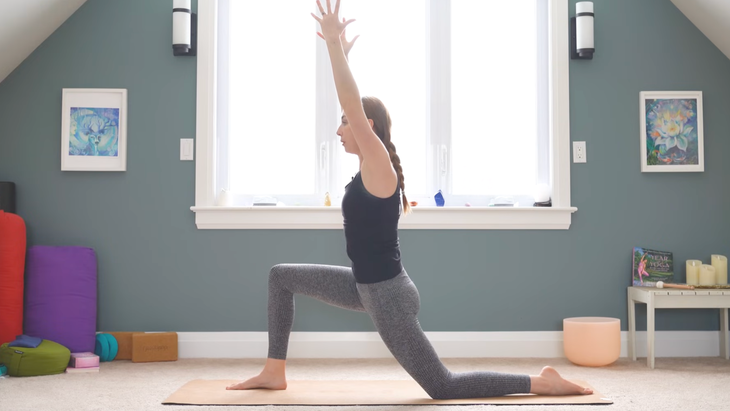
19. High Lunge
Find Down Dog again simply to transition as you step your right foot between your hands. Check that your feet are hip-distance apart as you lift up into High Lunge. This is the pose that I see the most common issues with if you have anterior pelvic tilt. Keeping your back leg straight simply doesn’t work if you have anterior pelvic tilt because it exacerbates the forward tilt of the pelvis. So keep your back knee bent so you can stack your hips directly underneath your shoulders. Lengthen the tailbone toward the mat, draw the lower belly in, and find some lift out of your lower back. This should also feel like a core-strengthening exercise as your abdominals will be working to hold you in this alignment.
Stay here or challenge yourself a little more by bending your elbows 90 degrees and seeing if you can find a little backbend, focusing primarily on your upper and mid back. Notice if you have a tendency to let your lower back do all of the work. Instead, focus on those areas that are a little trickier.
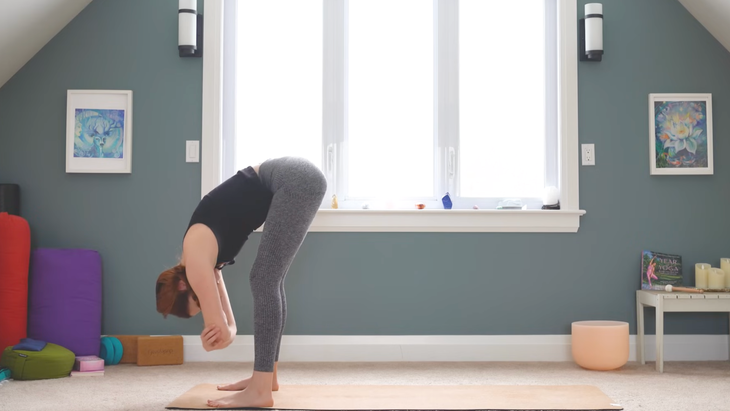
20. Standing Forward Bend
Then step your left foot forward and come into a rag doll or a Standing Forward Bend. Your feet are at least hip-distance apart and you can bend your needs as much as you need. You want to experience a stretch throughout your lower back here. There’s no tension in your facial muscles or neck. You may want to sway a little side to side.
Then step both feet back into your last Downward-Facing Dog and come into High Lunge on your other side and then Standing Forward Bend.
21. Pelvic Tilts
Come onto your back again. One of my favorite anterior pelvic tilt exercises to do are these tiny pelvic tilts. They’re more like pelvic traction. So with your feet hip-distance apart on the mat, bring your palms to your upper thighs and push your hands into your thighs and, at the same time, see if you can lengthen and press your lower back closer to the mat. You want to feel a nice stretch through your lower back.
Then release the bracing of your thighs, press your lower back into the mat, and curl your front hips forward as if you’re scooping your low belly, so more like a posterior pelvic tilt, and then once more, come back to neutral pelvis, push your hands into your thighs and repeat.
21. Reclined Twist
Bring both knees toward your chest and twist over to the left. Pause here before you return to center and take your knees to the right.
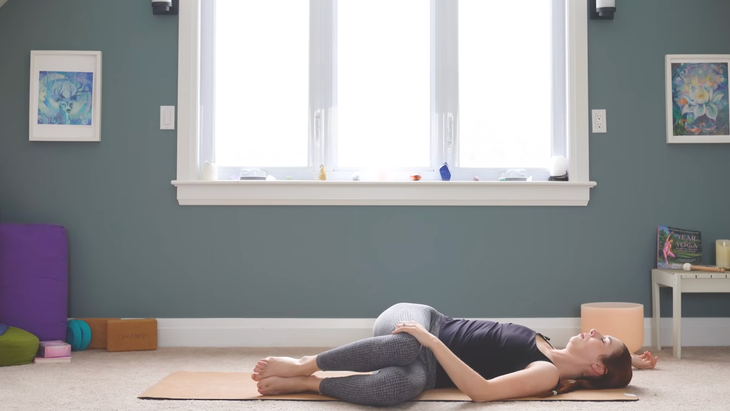
22. Constructive Rest
Stay on your back and hug your knees toward your belly, and give them a squeeze. Poses like Savasana, in which you’re lying on your back with straight legs, can unfortunately exacerbate anterior pelvic tilt. For some people, this position can be uncomfortable or painful in your lower back. An alternative is to place your feet wide on the mat and let your knees fall toward each other. This keeps your pelvis in a neutral position.
Close your eyes and give yourself a few minutes here. See if you can use this time to really feel, feel into the space of your body and notice what might feel different and integrate the effects of your awareness and your practice. Spend about one more minute here as you breathe deeply.
When you’re ready, start to wake yourself up again by making little movements. Eventually, roll over onto one side, cradling your head on your arm. Take a moment here before you ease into a seated position, however feels comfortable to you. Simply pause here and notice how you feel.
Thank you for practicing these anterior pelvic tilt exercises with me. The biggest takeaway of this class is to be aware of your body. Remind yourself of the principles of lengthening the tailbone and drawing the belly anytime you practice yoga but also as you go throughout your day. So more awareness on our mat and off the mat. That’s really the key to bringing some ease to your experience of life and alleviating the negative symptoms that can accompany sway back or anterior pelvic tilt.